How To Make A Poker Table: The Detailed Procedure
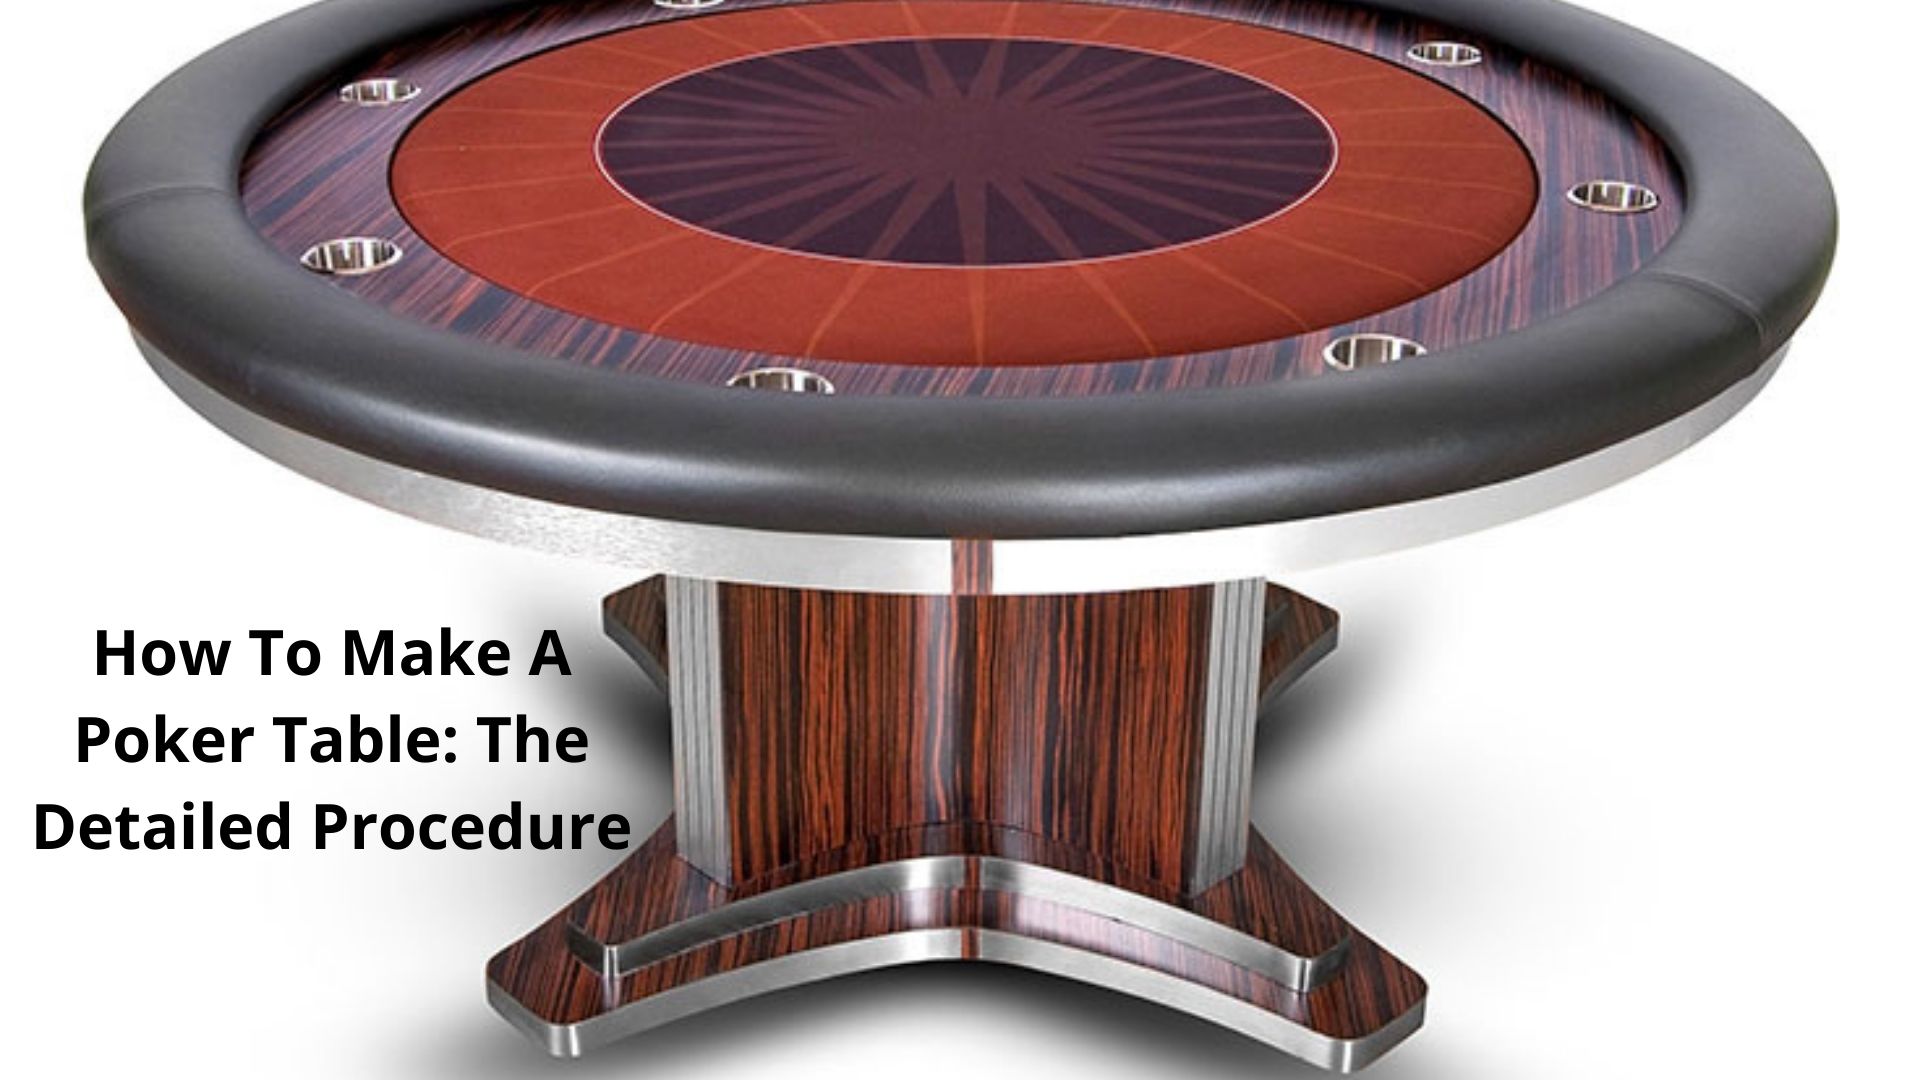
If you are not getting some free time to spend with your friends, do not worry. Poker night is probably the best time to meet your friends having sweet and sour Midori Sour in your hands. It is not a difficult task to make a poker table at all. You can easily make a poker table for your betting. When the game is over, you can use the poker table as a dining table. Isn’t it amazing? Yes, it is. So let’s get started.
Table of Contents
Total Time And Cost To Make A Poker Table
You can make a poker table within ten hours within the budget of $475. So it is not a costly procedure to make a poker table. You can easily afford to make a poker table. Isn’t it wonderful? Yes, it is.
What Things Do You Require To Make A Poker Table?
You need the following materials to make a poker table:
- Corbels
You need a total of nine 13/16-inch raw maple corbels.
- Felt
You require a padded green felt.
- Newel post
You require a 56-inch stain-grade newel post of oak.
- Stain
You require a Jacobean.
The Cut List For Making A Poker Table
You should collect the following materials in the cut list:
- Stand
You require 29 inches standing. You can cut it from the bottom and top for positioning the profile.
- Playing Surface
You require a ¾-inches surface. You can cut in the form of a small square. It will fit with the width and length of the inner ring. Further, you need to clip off its corners for making an octagon.
- Game Table
You require a plywood table of 48 inches. You can cut off its corners for making an octagon.
- Additionally, you need 1×2 outer-edge trim. Further, you will miter its ends of a total of eight pieces. But make sure that you are doing it at a 22.5-degree angle.
- You require 1×2 inner-edge trim. Then you will miter its ends of a total of eight pieces. But make sure that you are doing it at a 22.5-degree angle.
- Moreover, you need 0.5×6 coasters. It should be 6.75 inches from straight cut to the long point. You will miter one end at 22.5-degree.
- Then you require a 1×4 apron. You will bevel its ends of a total of eight pieces. But do it at a 22.5-degree angle for trimming the edges of the table.
- Further, you should have a 1×4 collar. You will cut four pieces for fitting around the newel post top.
- Lid
- You need a 0.5-inch plywood lid. You will cut off its corners for making an octagon.
- Also, you require a nose and cove molding. You will miter its ends of a total of eight pieces. But do it at a 22.4-degree angle.

How To Make a Poker Table
How To Make A Poker Table?-The Detailed Procedure
You can make a poker table by following these steps:
Measure And Mark The Plywood Table
In the first step, measure and mark the sides 14 inches from all the corners on the underside of the plywood table. Draw a line using a straightedge for connecting two marks at all the corners.
Cut The Lines Of The Corners
In the second step, cut the lines to loop off the corners of the table using a circular saw for creating an octagon. On your work surface, lay the 0.5-inch plywood for the lid with its best side. Make sure that you place the table on the top of the lid and position it so you may uncut side face the corners of the lid. Then make an outline of the table on the lid. Remove the table and place a ¾ inches board on the edge. Place it along the outside of all the marked lines. Trace a second set of lines. The outside ring depicts the lid size that needs to cover the table when the apron is attached. Cut the outside outer ring using a circular saw. Leave the line for creating a large surface compared to the table.
Miter The Pieces
On the playing table lay a length of 1×2 flat. Then mark the length of the side on edge. Opposing 22.5 degrees, miter the piece. When you miter the pieces, you can match the long edge with the length of the side of the table. Clamp the pieces on the table. Then mark and miter the remaining pieces. Number all the sides of the table to keep the 1×2 organized pieces.
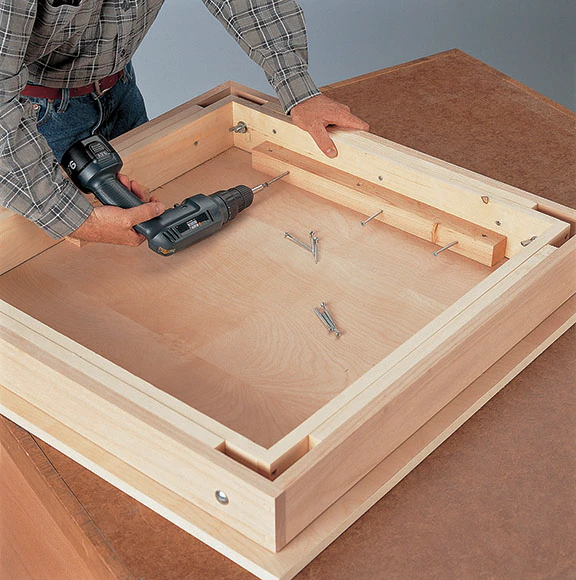
Making The Outer Edge
In the fourth step, apply some glue to the ends and underside of the 1x2s. Using 1-inch nails and a pneumatic nail gun, nail through the underside of the table for holding it into all the pieces in place.
Installing The Coaster Blocks
Mitre one end of 0.5×6 coaster at a 22.5-degree angle. Mark the center point using a combination of drawing lines at 45 degrees angle from the corners from the end of all the pieces. Then secure the coaster block to a scrap block using two clamps. On the crosshair center, the hole saw 45 degrees marks. Smooth the inside edges of the circular cutout using 150-grit sandpaper. Repeat the process for making a total of eight coasters.
Then place the coasters on the playing table in the 1×2 edge pieces. Hence, the angled ends will line up with the mitered joint. Then all will face the same direction. From the underside, nail the coaster of the table using 1-inch nails. To prevent poking up the nail through the pieces of the coaster, hold the nail gun at a slight angle.
Installing The Inner Edge
Lay 1×2 length flat on the table inside the coaster block rings. By doing so, the edge of 1×2 will sit against the top edge of the caster block. Then mark the distance between the two coasters’ angled ends. Miter the ends of 1×2 opposing the 22.5 degrees angles. Lay the piece in its place. Mark the remaining pieces until when all the pieces of the inner ring are sized.
Then apply some glue to the ends and underside of all the pieces. Set them in place and nail through the table underside for securing them. Cut a scrap piece of 1×2 for helping position the nail gun beneath the table. Cut it to the distance the inner ring sits from the table edge and nail it to the second perpendicular block for making a t-shaped spacer. With a stem, hook the t on the edge of the table. Position the nail gun at the stem end.
Attaching The Apron
Using a miter saw slice 1-4 inch spacers off a scrap block. Set them on the top of the outer ring of 1x2s. Position a 1×4 against the table edge with the top edge for creating a ¼ inch lip. On the top edge of 1×3, mark the corners of the table. Bevel the ends of all the pieces using a miter saw at 22.5 degrees angle. Using wood glue and 1.75 inches nails, secure the pieces to the table edges.
Marking The Surface
You need to measure the width and length of the open center space. Subtract 1/5 inch from measurement. Cut the surface to the same size. Lay the cut piece that is centered over the open center space. On the playing surface, mark the joints of the inner ring of 1×2. For creating an octagon, connect the marks on all the sides of the corners. Cut corners off the playing surface using a circular saw. Then you require to label the corresponding side of the table and surface. In this way, you will come to know which sides align.

Making a poker table
Attaching The Felt
Take a spray adhesive and coat the underside of the felt. Besides, coat the top of the playing surface. Wait for some time until the adhesive gets completely dry. Then you need to set the playing surface upside down on the center of the felt. Wrap the felt over the edge. Then secure it with a staple. Wrap the felt over the other side. Fold the excess under just like the gift wrap. When you see that the felt is stapled and glued in place and all the edges are pulled tightly, cut off the excess with the help of utility scissors. Then set the playing surface aside.
Assembling And Marking The Collar
Cut two boards of 1×4 to the width of the upper part of the newel post. Moreover, cut two boards of 1×4 more to that width but make sure to add 1.5 inches. Then apply glue to the ends of short pieces. For creating a box, sandwich them between the longer pieces. Also, shoot 1.25 inches nails with the help of long pieces into the ends of shorter pieces for securing them in place. Then centre the assembled collar on the underside of the table. Finally, mark its outside and inside perimeters.
Drilling The Pilot Holes
In the next step, remove the collar. Drill three 1/8 inches pilot holes through the table on all the sides between the perimeter lines.
Making A Poker Table
Attaching The Collar
Apply glue to the top collar edge. Place it on the table underside. Wait for some time until the glue gets dried. When the glue holds the collar in place, you need to wait for that time. Then prepare the pilot holes using a countersink bit. Drive 2 inches screws with the help of plywood and inside the top edges of the collar.
Cutting The Stand
For positioning the newel post taper between the floor and the table, cut the bottom and top of the post. Mark the cut lines 29 inches apart on each of the four sides of the post. Then place the post on the miter saw. Cut it to size. Cut partway through if your miter cannot cut the thickness of the post. Then roll this post to the opposite face for finishing the cut. Repeat it to cut the second line.
Drilling Pilot Holes
Center the short face of the corbel that is flush with the bottom edge. Mark a registration line using a straightedge on the bottom of the corbel and the post. Then apply wood glue to the corbel. Shoot 1.25 inches nails through the corbel edges using a nail gun. Countersink the hole through the corbel base using a driver fitted with 5/8 inches paddle bit. Then angle the drill upward at a steep angle for boring out the hole. It will create room for the head screw. Then repeat this process for making a second countersink.
Attaching The Feet
Drive 6 inches timber screws through into the corbel and the countersink holes. You need to repeat this step and the next step for securing the remaining corbels to all the faces of the newel post at a time.
Driving Screws Through The Collar Sides
You need to slip the top of the stand in the collar affixed to the table underside. Then drive 2 inches screws through all the sides of the collar and into the post.
Preparing The Edges Of The Lid
Mark length of the cove and nose molding with the plywood lid edges. Then miter the ends of all the pieces at 2.2 degrees angle. Apply glue to the ends and backside of all the molding pieces. Attach the molding to the lid that is flush with its surface. But make sure that you do it carefully. Nail the 1-inch nails through the molding and into the lid edge carefully.
Final Finishing Touch For Making A Poker Table
In the final step, fill the fastener joints and holes using a stainable wood filler. Sand the assembly thoroughly with the sandpaper of 220 grits. Once dry, wipe on a stain finish. Then apply a protective coat of wax, polyurethane, or Tung oil. Line the inset of the coaster with the cork that is adhesive-backed if required. When you find that the final finish gets dried, fit the felt-covered playing surface inside the 1×2 inner ring. Then place the lid on the table. In this way, you have made your poker table.
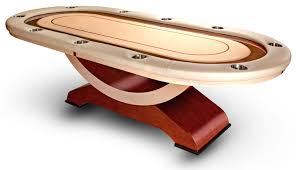
Classic Poker Table
Wrapping It Up How To Make A Poker Table
You can make a poker table for playing poker. Moreover, you can use it for fun and food as well. You can easily convert it into a dining table with the flip of a lid. You need to follow some easy steps to make a poker table. Besides, make sure that you have collected all the required materials for making a poker table. So get ready to enjoy your poker table that can be used as a source of entertainment.
-

 Guides3 years ago
How to Play Roulette in Vegas: The Las Vegan Way
-
Best3 years ago
10 Horse Racing Movies Based on a True Story
-
Guides3 years ago
Dragon Quest 11 Casino Guide 2024
-
Guides3 years ago
How Many Decks In Blackjack And Its Rules To Play 2024
-
Guides3 years ago
Money Beans Pokie Game: Amazing Features 2024
-
Guides3 years ago
Rummy In Blackjack: Rules, Strategy, RTP, And Bonuses
-
Guides3 years ago
How to Make Sweet And Sour Midori Sour?
-
Guides3 years ago
How Often Do Boxers Fight? 2024